
Do you live in a region with extreme weather conditions? Are you sick of cold weather and its effect on the architecture of domestic and commercial buildings? Well, your problem can be resolved with vinyl clad weatherstripping. Weatherstripping protects your domestic or even commercial architecture from the elemental influence. A vinyl clad weatherships offers resilience and durability even when your residence has a harsh geography.
Let’s explore the installation process of vinyl clad weatherstrips more and understand the procedure like a layperson. Continue reading to find out more.
Why should install Vinyl Clad Weatherstrip to improve your home?
You should install Vinyl Clad Weatherstrip in your home for the following reasons:
- Protection: Protects the home from extreme weather for comfort and safety.
- Resilience: Provides durability in harsh environments, ensuring safety.
- Energy efficiency: seal gaps, reducing heating and cooling costs.
- Draft Prevention: Stops air leakage, maintaining interior comfort.
- Noise Reduction: Reduces noise intrusion creating a peaceful space.
How to Install Vinyl Clad Weatherstrip?
Vinyl clad weatherstripping is important to keep your home cozy in harsh weather. To start installing it, gather the tools you need, measure the weatherstrips, and prep the surface.
Installing vinyl-clad weatherstrips is straightforward, with just a few steps to follow. Next, we’ll look at how to do it.
Steps to Install Vinyl Clad Weatherstrip
To install a vinyl-clad weatherstrip, first, gather the tools you need. Then, measure and cut the weatherstrip to fit. Here are the steps to follow:
Step 1: Collect the Necessary Tools
- Before you begin installing, gather all the tools you’ll need. This helps you put on the vinyl weatherstrip without any problems or stress.
- You can begin by understanding the main things you need to install vinyl clad weatherstrips. These are the weatherstrips themselves.
- You’ll also need a knife or scissors to cut the vinyl clad weatherstrips. A sharp knife can cut the sheet accurately and smoothly.
- To measure how long the vinyl-covered weatherstrips are, you need a tool called measuring strips.
Step 2: Measure and Cut the Weatherstrip
- Measure the frame where you want to put the weatherstrips. This helps you put on the vinyl-clad weather strips tightly. Begin by making the frame easy to reach.
- First, measure how long and wide the frame is. Keep the measuring tape tight so you don’t make mistakes. Once you know the frame’s size, measure the weatherstrips and mark where they match your frame’s size.
- Mark the weatherstrips where they match the frame. Then cut them carefully to avoid accidents.
- Once you’ve marked and cut the patch to fit your frame, you can check if it’s the right size. Just put the cut strips on the frame and see if they fit well.
Step 3: Clean and Prepare the Frame
- To stick the weatherstrip properly, make sure the surface is clean and free from dust. So, clean the surface before you put on the weatherstrip.
- First, take down any decorations or pictures on the wall. Use a dry cloth to clean the wall and get rid of dirt and dust. Pay close attention to the corners and tight spaces where dust collects the most.
After dry cleaning, you can wet the cloth with clean water or detergent and clean the dirt. Wait until the surface is dry again before installing the vinyl clad weatherstrip.
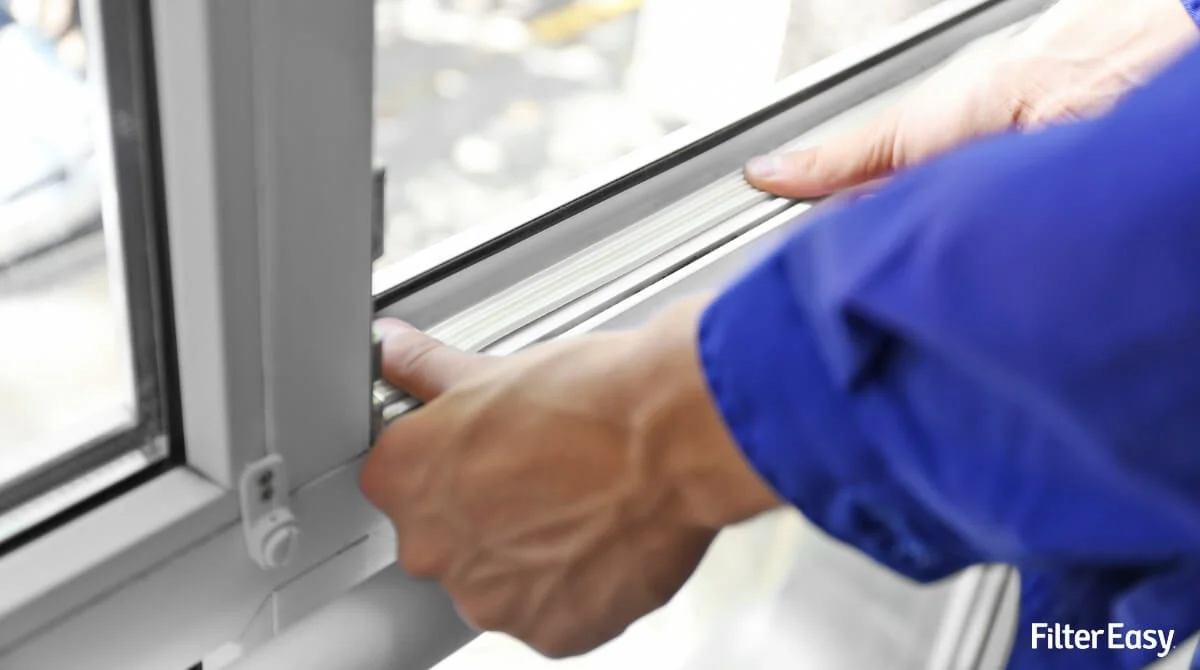
Step 4: Install the Weatherstrip
- So far, we cleaned and got the surface ready. Then we cut a piece of vinyl clad weatherstrip. Now, the last thing to do is to adjust and line up the cut weatherstrip on the clean surface.
- Put the weatherstrips evenly around the corners and use screws to hold them in place. You can also use nails to secure the vinyl clad weatherstripping at regular intervals. That’s all!
- Here’s how to put on the vinyl-covered weatherstrips in four easy steps. These steps help make your walls and window frames stronger. First, gather the tools you need. Then, put the precisely cut strips on the clean surfaces.